How to Compress Large PDF Files Without Losing Quality
Learn how to compress large PDF files without losing quality. Free, no Adobe, no watermark — step-by-step methods for email, WhatsApp, Mac, Windows & mobile.
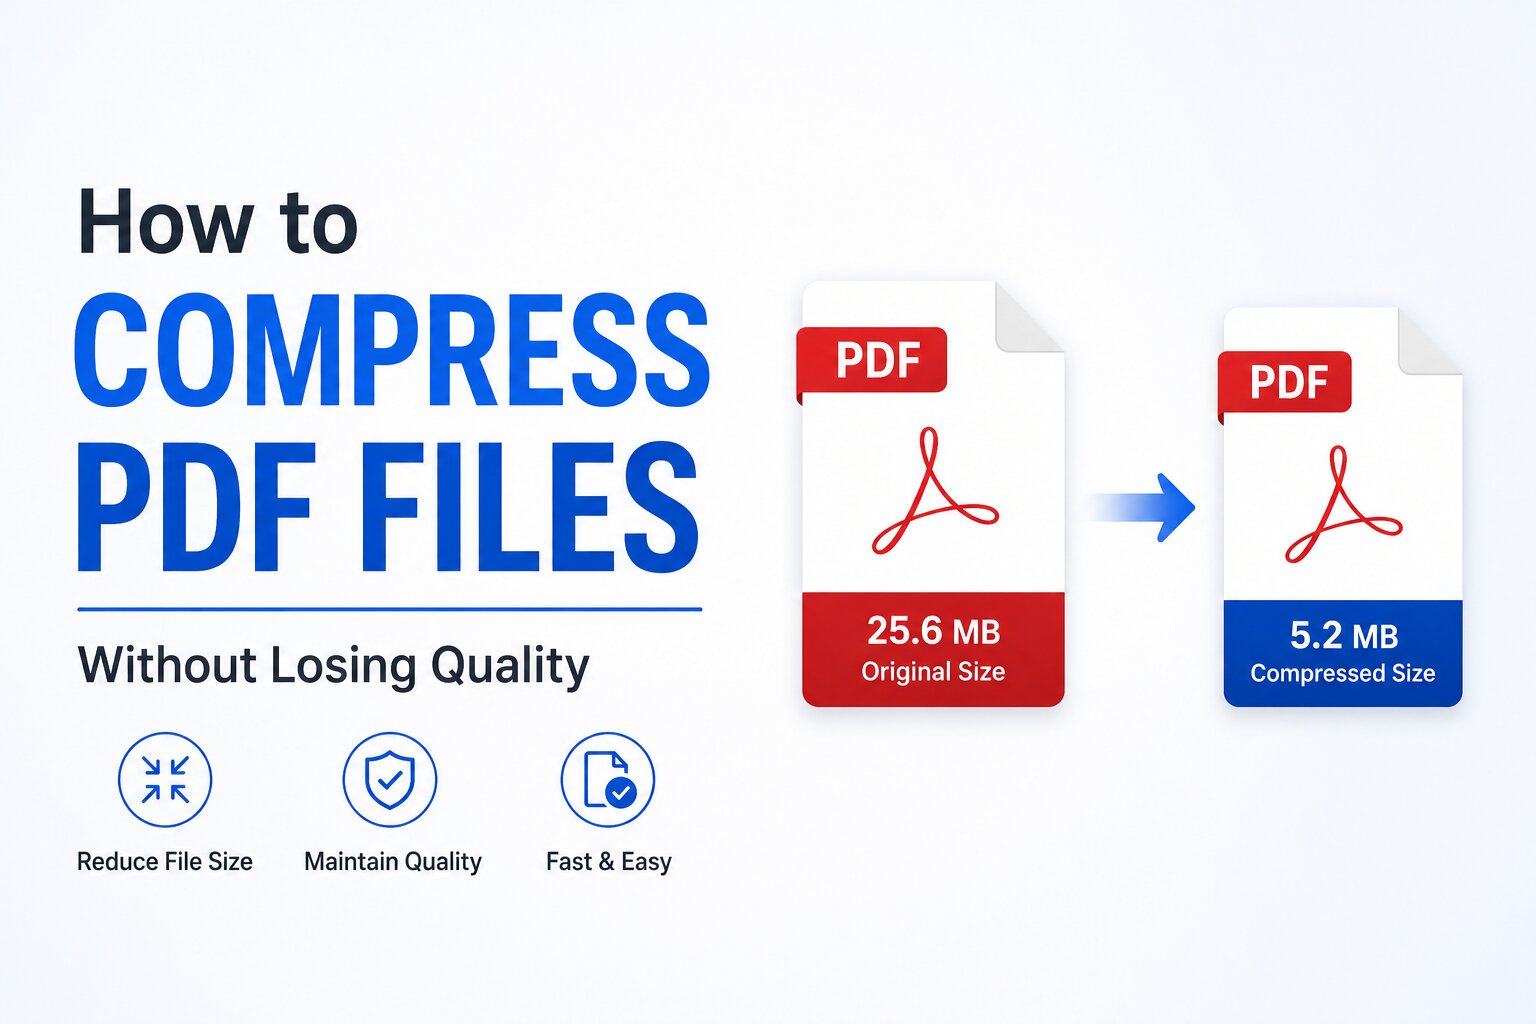
Your PDF is too large to email, too big for the portal, and every compressor you try either watermarks it or wrecks the quality. Sound familiar? This guide teaches you exactly how to compress large PDF files without losing quality — free, no Adobe, no watermark — with step-by-step methods for every device and use case.
Table of Contents
Why Your PDF Is So Large (Fix the Cause, Not Just the Symptom)
Most people treat compression like a magic button. But if you don't know what is making your file large, you end up either under-compressing (still too big) or over-compressing (quality wrecked). Spend 60 seconds diagnosing first and you'll compress smarter.
Images and Scans: The Number-One Culprit
Images are responsible for the vast majority of PDF bloat — typically 80–95% of file size in documents that contain photos, diagrams, or scanned pages. A single full-resolution smartphone photo is 4–8MB. Embed six of those into a PDF and you're already at 30–40MB. Scanned documents are even worse: a flatbed scanner set to 600 DPI produces images so large that a 10-page scan can easily exceed 50MB.
- •High DPI (dots per inch) — 300 DPI is standard for print; 600 DPI is overkill for anything digital
- •Uncompressed or lightly compressed image formats embedded at full resolution
- •Color scans when black-and-white would suffice
- •Photos saved as lossless PNG inside the PDF instead of JPEG
Embedded Fonts and Subsets
Every font used in a PDF can be embedded so the document looks identical on any device. This is good for fidelity but adds size. A well-optimized PDF embeds only the characters used (called font subsetting). Poorly exported PDFs embed the entire font file — sometimes several megabytes per typeface.
High DPI and Resolution
Resolution is measured in DPI (dots per inch). The relationship between resolution and file size is roughly quadratic — double the DPI and the image becomes four times as large. Most PDFs shared digitally are embedded at 300 DPI or higher — completely unnecessary for screen reading.
Quick Size Rule of Thumb
Under 200KB per page = well optimized. 200KB–1MB per page = moderate, likely has images. Over 1MB per page = almost certainly has high-res images or scans that can be compressed significantly.
Embedded Media, Metadata, and Annotations
- •Embedded video or audio — rare but extremely bloating; remove rather than compress
- •Metadata — creation date, author, editing history, software version tags
- •Annotations and comments — tracked changes, sticky notes, and highlights
- •Thumbnails — some PDF creators embed page previews for every page, adding unnecessary weight
Lossless vs Lossy — What "Without Losing Quality" Really Means
This is the concept most compression guides skip entirely — and it's the reason people end up with blurry PDFs. Understanding it takes two minutes and changes how you compress forever.
Lossless Compression: Safe but Limited
Lossless compression reorganizes data more efficiently without discarding any of it. The file that comes out is mathematically identical to the file that went in. For PDFs, lossless compression typically uses Flate (ZIP) compression on text, vector graphics, and structural data. Think of it like packing a suitcase more neatly — everything fits, just arranged better.
Lossless Results
Typically 10–30% size reduction on text-heavy PDFs. Excellent for documents where images are not the main component. On image-heavy or scanned PDFs, lossless compression barely moves the needle.
Lossy Compression: Where the Real Savings Are
Lossy compression actually discards data — typically high-frequency image detail that the human eye doesn't notice at normal viewing distances. The key insight is that "lossy" doesn't mean "bad." At the right settings, a lossy-compressed PDF looks indistinguishable from the original at any normal zoom level.
Lossy Results
40–85% size reduction. This is where the real savings live for image-heavy documents. The risk: aggressive lossy compression on low-resolution source images can blur text and create JPEG artifacts around sharp lines.
How to Choose the Right Trade-Off
Use this decision framework to pick the right approach for your document type:
- •Mostly text, few images → Lossless — safe 15–25% reduction
- •Mixed content (text + photos) → Medium lossy — good balance, text stays sharp
- •Scanned document, clear original → Moderate lossy at 150 DPI
- •Scanned document, low-quality original → Light lossy only — don't compress what's already degraded
- •Photos/portfolio — quality critical → Low compression; prioritize quality over size
- •Government/portal upload (100–500KB) → Lossy + grayscale; acceptable trade-off for compliance
💡 The Key Insight
"Without losing quality" means choosing settings where quality loss is imperceptible at normal reading conditions — not necessarily zero data loss. A PDF that looks identical when read is, for practical purposes, identical.
Method 1: Compress a PDF Online (Fastest, No Install)
Online compression is the right choice for most people: nothing to install, works on any device, takes under a minute.
Open SpellPDF's Free Compressor
Go to spellpdf.com/compress-pdf — no account needed. The tool works directly in your browser.
Upload Your PDF
Drag and drop the file onto the tool, or click to browse. Files are processed securely.
Choose Your Compression Level
Low = minimal compression, maximum quality. Medium = best balance, 40–70% reduction (recommended). High = 70–85% reduction, use for strict portal uploads.
Compress and Download
Click compress and download your smaller PDF. No watermark, no registration, no waiting for email delivery.
✅ Real Test Result
A 22MB scanned application form compressed to 1.8MB at Medium quality. Text remained fully legible and OCR-searchable. Zero detectable quality difference at normal reading zoom.
How to Hit a Specific Target Size
- •Try Medium first — check the output size
- •If still too large, retry with High compression
- •If still over the limit, compress images inside the PDF first, then run through the compressor again
- •For extreme targets (under 200KB), consider converting color scans to grayscale before compression
Method 2: Compress Without Adobe (Free Alternatives)
Adobe Acrobat Pro's compression is excellent — but at $19.99/month, it's overkill for occasional use. Here are the best free alternatives, including built-in OS tools that require no download at all.
In-Browser Tools (Privacy-Friendly)
If you're compressing confidential documents — medical records, legal paperwork, financial statements — the question of where your file goes matters. Most online tools upload your PDF to their servers, compress it remotely, then delete it. For sensitive documents, look for tools that explicitly state "processed locally" or "files never leave your device."
Built-In OS Tools (No Upload, No Software)
- •Windows — Open PDF in Edge or Chrome → Ctrl+P → Select "Microsoft Print to PDF" → Print and save
- •Mac — Open PDF in Preview → File → Export as PDF → Quartz Filter → Reduce File Size → Save
⚠️ Mac Preview Warning
Mac's built-in Quartz filter is aggressive by default and can over-compress images. Always test the output before submitting anywhere. For better control, use a dedicated online compressor where you can set the quality level yourself.
Method 3: Compress a Scanned PDF Without Losing Text Quality
Scanned documents behave completely differently from generated PDFs. Understanding why saves you from the number-one compression mistake: applying generic settings to a document that needs specific care.
Why Scans Behave Differently
A scanned PDF is, at its core, a collection of photographs. When you scan a paper document, you get an image of each page — not editable text, not vector shapes, just pixels. Scans are already large by nature, and compressing them compresses photographs. Too aggressively, and text edges become blurry, fine print becomes unreadable, and thin lines disappear.
DPI Targets That Keep Text Sharp
- •300 DPI → Perfect text sharpness → Best for archiving and professional submission
- •200 DPI → Excellent sharpness → Standard digital submission, 30–50% size reduction
- •150 DPI → Very good sharpness → Email and most portal uploads, 50–70% reduction ✅ Sweet spot
- •96 DPI → Adequate → Quick sharing and WhatsApp, 70–80% reduction
- •72 DPI → Marginal → Screen preview only, 80–85% reduction
⚠️ Don't Over-Compress Scanned Documents
If your original scan was done at 200 DPI or lower, don't try to compress down to 96 DPI. You can only degrade what already exists. If the source is already borderline, compress lightly (150 DPI max) and accept that a larger file is the price of legibility.
Compress PDF for Specific Use Cases
For Email (Gmail and Outlook)
- •Gmail — 25MB attachment limit → Medium compression usually sufficient
- •Outlook personal — 20MB limit → Medium compression
- •Outlook corporate — Often 10MB (set by IT) → High compression or split the file
- •Yahoo Mail — 25MB limit → Medium compression
💡 Still Too Large After Compression?
Split the PDF into smaller files and send in parts, or upload to Google Drive and share a link instead — this bypasses attachment limits entirely.
For WhatsApp
WhatsApp's document sharing limit is 100MB — generous enough that most compressed PDFs will pass easily. Use Medium compression. A 40–50MB scan will typically drop to 5–10MB, which sends instantly on any connection.
For College and Government Portals (India: 100KB–1MB)
University admission portals, government document uploads (Aadhaar-linked services, PAN verification, scholarship applications), and KYC submissions routinely impose strict limits — often 100KB to 1MB. Here's a practical size-targeting strategy:
- •Under 2MB → Any standard scan → Medium compression → Usually achieves target
- •Under 1MB → Average scanned form → High compression → Achieves target in most cases
- •Under 500KB → Scanned form → High + grayscale → Achievable; quality acceptable
- •Under 200KB → Any document → High + grayscale + 96 DPI → Possible; review output carefully
- •Under 100KB → Any document → Extreme; consider splitting → Borderline; may require reformat
💡 Pro Tip for Indian Portal Uploads
If your document is a color scan of a black-and-white form (certificate, mark sheet, application), converting to grayscale before compression can reduce size by an additional 30–40% with zero impact on readability.
For Web Uploads and Cloud Storage
For web use (job applications, website uploads, cloud sharing), target under 5MB as a general rule. Most web systems handle this without issue. For cloud storage optimization of large archives, batch compression makes more sense than individual optimization.
Compress PDF on Any Device
On Windows
Open SpellPDF in Your Browser
Open Chrome or Edge and visit spellpdf.com/compress-pdf. No installation needed.
Upload and Compress
Drag and drop your PDF, select compression level, and download the result.
Alternative: Print to PDF
Open PDF in Edge → Ctrl+P → Printer: "Microsoft Print to PDF" → Print. Limited control but works without any tool.
On Mac
Open PDF in Preview
Double-click the PDF file to open it in Preview (Mac's built-in PDF viewer).
Export with Quartz Filter
Go to File → Export as PDF → Quartz Filter → Reduce File Size → Save.
Or Use SpellPDF Online
For better quality control, use spellpdf.com/compress-pdf in Safari or Chrome to set exact compression levels.
On iPhone
Open Safari
Go to spellpdf.com/compress-pdf in Safari. The tool is fully mobile-optimized.
Upload Your PDF
Tap the upload area → Files or Photos → select your PDF.
Compress and Save
Wait 10–20 seconds for processing, tap Download — the compressed PDF saves directly to your Files app.
Share Directly
Share from Files to email, WhatsApp, or any other app immediately.
On Android
Open Chrome
Navigate to spellpdf.com/compress-pdf in Chrome on your Android device.
Upload Your PDF
Tap the upload button and browse to your PDF in Downloads, Drive, or Files.
Compress and Download
Select compression level, compress, and the file saves to your Downloads folder automatically.
Share via Any App
Share directly from Downloads via Gmail, WhatsApp, or any sharing-capable app.
Advanced Tips to Shrink PDFs Without Quality Loss
Compress Images Inside the PDF First
This is the single highest-impact technique most guides don't mention. Rather than compressing the whole PDF document, target the images inside it directly. A PDF compressor processes the entire file structure. An image compressor works specifically on the embedded image data — where 80–95% of the size actually lives.
💡 Two-Step Workflow
Compress images inside the PDF first using an image compressor, then run the document through a standard PDF compressor as a second pass. This two-step approach routinely achieves 20–30% better results than single-pass whole-document compression.
Remove Unused Objects, Metadata, and Bookmarks
- •"Remove metadata" — strips author, creation date, editing history
- •"Clean up redundant objects" — removes duplicate or unused PDF objects
- •"Discard bookmarks/thumbnails" — removes navigation aids not needed for portal uploads
Batch Compress Multiple PDFs
- •SpellPDF batch mode — compress multiple PDF files at once using the batch upload feature
- •Ghostscript (command line) — free, open-source. Command: gs -sDEVICE=pdfwrite -dPDFSETTINGS=/ebook -o output.pdf input.pdf
- •Automator on Mac — build a batch compression workflow across an entire folder
Choose the Right DPI for Print vs Screen
- •300 DPI → Professional print → Don't compress images below this for print output
- •150–200 DPI → Home print → Visually fine for most printers
- •96–150 DPI → Screen reading → Human eye can't distinguish above ~120 DPI at typical reading distance
- •96 DPI → Email/WhatsApp sharing → Reduces size dramatically, fully legible
- •72–96 DPI → Portal upload (strict limit) → Prioritizes compliance over quality
Common Mistakes That Ruin PDF Quality
Over-Compressing to Extreme Settings
The most common error: selecting "maximum compression" regardless of the source document. On a clean, high-resolution scan, this produces a muddy, unreadable result. Always start at Medium and step up only if the result is still too large. Check the output visually before submitting.
Using the Wrong Tool for Scanned Documents
Generic PDF compressors are optimized for generated PDFs (created in Word, InDesign, or similar). Applied to scanned documents, they may flatten or reprocess images in ways that destroy text edges. Use a tool that explicitly supports scanned document compression, or compress at 150 DPI minimum.
Ignoring Image Resolution Inside the File
Compressing a PDF that contains a 600 DPI embedded photograph using a "light" setting barely touches the image. The tool shaves off metadata but leaves the massive image data untouched. Specifically target image downsampling — reduce embedded images to 150 DPI before or during compression.
Repeatedly Compressing the Same File
⚠️ Never Compress a Compressed File
Each round of lossy compression degrades quality further — like photocopying a photocopy. Always compress from the original source file. If the first pass isn't sufficient, go back to the original and apply stronger settings in a single pass.
Conclusion
Compressing a PDF without losing quality isn't about finding the most aggressive tool. It's about understanding what's making your file large — almost always images and resolution — and applying targeted compression that hits the right trade-off for your specific use case.
- •🔍 Diagnose first — Images or scans? Text-heavy? High DPI?
- •⚙️ Choose your method — Online for convenience, OS tools for privacy, image-first for maximum results
- •🎚️ Set the right level — Medium for most use cases; High only for strict portal targets
- •✅ Check the output — Open it, zoom to normal reading size, and verify before submitting
Whether you're a student uploading admission documents to a university portal, a professional compressing client deliverables, or someone who just needs to get a file through Gmail — the approach above works on any device, for any document type, for free.
🚀 Ready to Compress?
Try SpellPDF's free PDF Compressor — no sign-up, no watermark, no file stored longer than necessary. Upload, choose your level, and download a smaller PDF in under 30 seconds.
Frequently Asked Questions
Ready to Try It Yourself?
Put what you learned into action. Our tool is 100% free with no signup required.
Try the Tool Now